OpenDNS is a very simple DNS solution that anyone can use and I would recommend it to anyone. DNS stands for Domain Name Service. It is basically the service that makes the internet work the way that it does. If it was not for DNS, you’d have to remember 74.125.45.103 to get to Google’s Website or 74.208.80.98 to get the The Pursuit’s website.
I have known about OpenDNS for a long time now, but never looked into it for several reasons. But recently I found myself in the need of an alternate DNS solution. The functionality OpenDNS offers is leaps and bounds over what I expected to see. The most important thing that I think you will find useful is it’s ability to filter content. You can set different levels of protection to prevent things like porn on your network. I think this is great because it relatively transparent (although there are always ways to get around these things). But if you have a child who frequently uses the internet you can use this as a primary way to help prevent accidental or intentional website browsing.
Here is a simple tutorial:
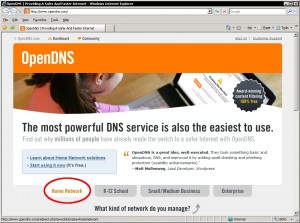
Go to www.OpenDNS.com and click the “Home Network” tab at the bottom of the page.
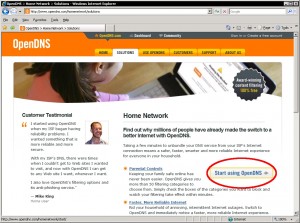
You should be at the Home Network page, read it if you wish, but ultimately you’ll want to click the “Start using OpenDNS ->” link on the right hand side of the window.
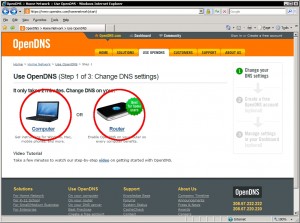
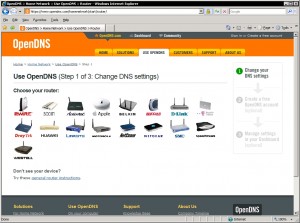
The next page is Step 1 of 3: Change DNS settings). It will ask you an important questions, “Computer” or “Router”. Last night I choose “Router” for several reasons. This step may confuse some of you, so let me try to explaint he difference. The “Computer” is merely choosing 1 computer. So if you have a single desktop that all your family uses, this may be a perfectly valid option for you. However, if you have DSL or Cable Internet, then you probably have a router built into your modem. Your Internet Provider should be able to provide you with more information about this, but OpenDNS makes is very user-friendly. Choose the option that suits your needs.
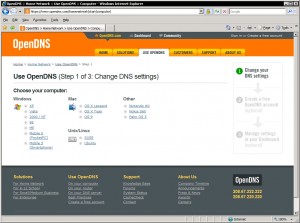
In this screen you are asked what system or device you use to connect to the internet. If you chose “Computer” on the previous screen you are given a list of possible operating systems or specific devices that you may want to setup. If you chose “Router” you are given a list of common routers people use. Choose the option that suits your needs (I choose 2Wire because my ISP provided me with a 2Wire brand router).
 |
 |
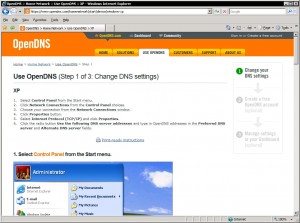
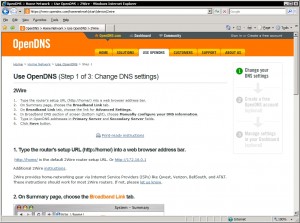
Open DNS provides you with great screen shots explaining everything you need to do to update your system ot use Open DNS. Sometimes it takes a few minutes before the changes take effect, which may effect your ability to access the internet – this is normal – do not panic! Last night one of my machines had an issue with accepting the changes, I just rebooted it and everything was fine. After you follow the directions, click “Continue to Step 2” at the bottom of the page.
 |
 |
Here you will be asked to create an Open DNS account. This is completely optional if you merely want to use Open DNS as an alternate DNS solution. However, it is required if you want to use the added functionality of Open DNS (such as porn filtering). Enter the relavant information and click submit.
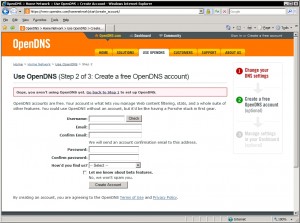
It will send you an email to confirm your account.
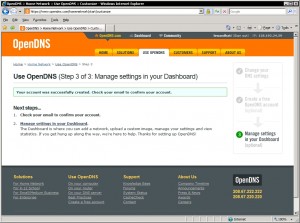
Check your email and click the link to confirm your account request.
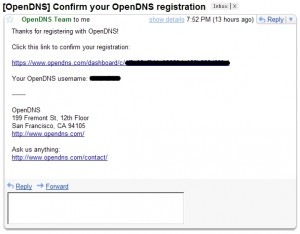
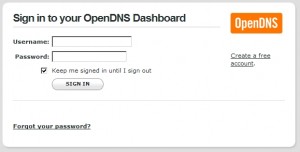
It should log in into your Open DNS Dashboard automatically. If not, you will be ask for your username and password.
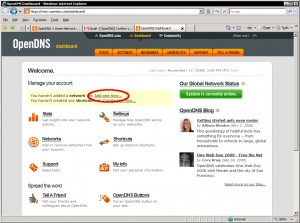
Your Dashboard is where all the magic happens. Here you can change your settings to filter your web content. You should see a message that reads, “You haven’t added a network yet. Add one now…” click the “Add one now…” link to get started.
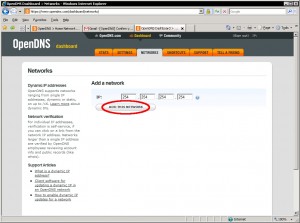
The next screen should automatically fill in your IP address. If this is correct, then click “Add This Network”. If you are unsure, you can go to http://www.ipchicken.com/ to verify your IP Address.
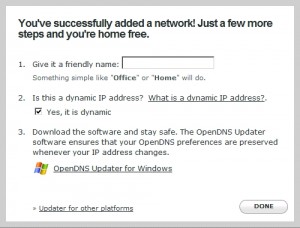
You will receive a popup message asking your for more information. First, you need to enter a name for the network, like “Home” or “Work”. Second, it asks you if you have a Dynamic IP. You probably do, so you can leave this checked – unless you know you don’t. The third option is to download and install the OpenDNS Updater. The third option is completely optional to you and depends on where you’re intalling the program. For instance, if you install it on a laptop that you use outside of the house, it will mess up your OpenDNS settings. When you leave the house and get a new IP your house will no longer be using the OpenDNS settings. So I would recommend only installing this on a computer that stays in your house and stays on your network. The down side to this is that you’ll have to periodically check to make sure that your IP hasn’t changed (or ask your Internet Provider for a static IP). Once you have completed these steps, click “Done”.
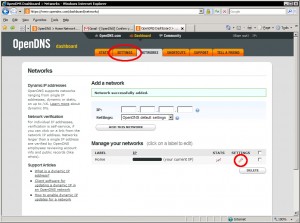
This next screen will confirms the network you just added. From here you can click the “Settings” tab or button on the Network you just added to change the filtering settings for your network.
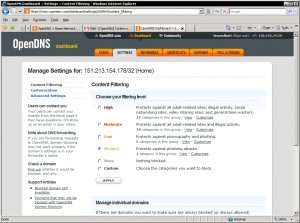
Finally, the last step! This is where you can setup your filtering options. OpenDNS provides you with several options, the default option is “Minimal” which protects you from Phishing attemps. It goes up from there with, Low, Moderate and High. The best thing about this is you can customize each setting. So if you choose High but want your children to be able to use Facebook, just click “Customize” next to High and uncheck “social networking”. This will allow all social networking sites through the filter.
I am extremely impressed with the service that OpenDNS offers for its subscribers. Not only does the service act as a great alternative to ISP DNS, it provides a fresh set of tools for protecting your network and family. As a relatively simple and FREE solution it is definitely something you should consider adding to your home network. As with anything, there are always ways around any protection, but this can be another tool in your toolbox to prevent your children from accessing adult or unsafe content. Did I mention this is free?
If you have any questions or need any help, please comment and I’ll try my best to answer your questions.
God Speed.

Hi, if i use OpenDNS will i be able to change IP whenever i want? I don’t get the other good things with OpenDns other than it can filter..?